
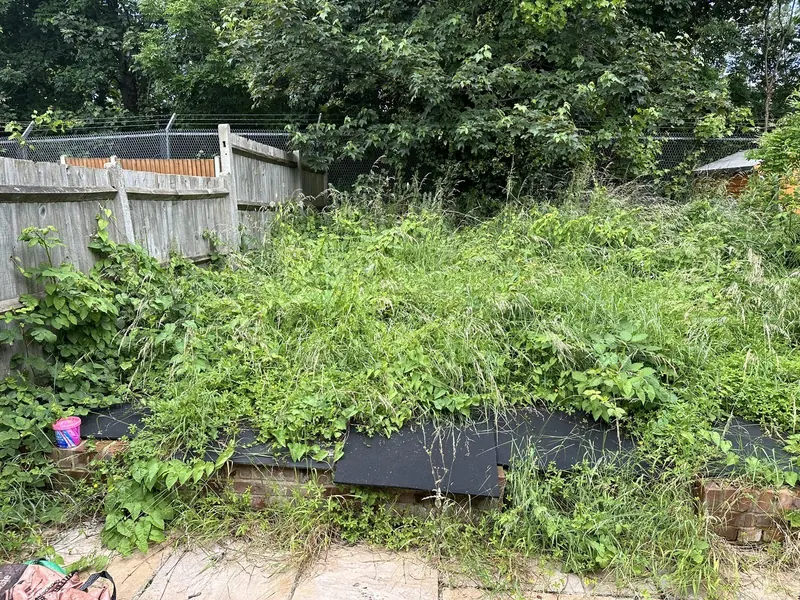
What is the first useful step before clearing?
Stand at the safest accessible point and make a rough map. Mark the house, exit, visible path, shed and any planting you recognise. Add areas you cannot yet see. The purpose is to understand uncertainty, rather than decide immediately that everything must go. A garden that looks like one mass of growth may contain several quite different tasks.
Write down the immediate reason for clearing. You may need access to a meter, room for children to play or a route to the washing line. Choose one result for the first stage. This guide focuses on dividing an uncertain space into workable areas; the main site’s maintenance-or-clearance article handles the broader service comparison. You do not need to solve the entire garden in a single decision.
How do you decide what must stay?
Look for signs of established planting, including labels, repeated planting patterns and stems returning from a common base. If you cannot identify something, mark it for discussion. Keep plants you value distinct from growth you are happy to remove. A photograph from an earlier season can help explain what a dormant or crowded bed used to contain.
Also mark objects that should remain: a buried edging line, a bench, a washing-line socket or a decorative feature. Tell anyone helping you about cables, pipework or old structures you know are present. Do not ask somebody to discover these with cutting equipment. Your knowledge of the garden can be valuable even if you have not maintained it recently. An honest account of what is unknown is better than an assumption that the ground is clear.
How should the garden be divided into stages?
Begin with the route that allows the work to happen. Once access is usable, separate open grass, tangled borders, woody growth and paved areas. Each requires its own judgement. Clearing one area to a defined stopping point makes progress easier to assess and avoids moving the same pile of material repeatedly between unfinished sections.
Choose a place for gathered vegetation before cutting expands. Keep this separate from retained plants and the route out. If material is leaving the property, think about the carrying distance as well as the cutting. A small enclosed garden can generate more handling than expected when everything must pass through a narrow passage. Ask for the sequence to include gathering and finishing, rather than treating those activities as an afterthought at the end.
What should you do about hidden problems?
Do not enter dense growth simply to investigate every suspicious object. Identify the area from a distance and explain what you can see. Sharp material, unstable structures or unidentified waste need a different decision from ordinary vegetation. If something unexpected appears during work, pause that section and agree the next step before continuing.
For vegetation cutting, consult the RSPB’s advice on nesting birds. Active nests are protected while in use or being built, including outside the main nesting period. Where a tree may be protected, check with the council through GOV.UK’s tree-work route before arranging work. LookDeVis tree work discussed here is ground-based and limited to trees up to five metres; other work needs a separate appropriate assessment.
How do you describe the job without repeating a photo checklist?
Label your rough map with simple zones: entrance, left border, central grass and rear corner. Describe the intended result for each zone. For example, you might want the path uncovered while leaving the back bed for a later discussion. This helps someone understand your priorities even when photographs make dense growth look flat and difficult to interpret.
Take a general view from an accessible position if you can, but do not push into concealed areas for a closer image. Describe changes in level and anything the picture fails to show. If the route crosses the house, say so early. The main website has a separate guide to quotation photographs; use this garden map to explain the order of work, rather than creating another long collection of images without a clear purpose.
What happens to the material once an area is cleared?
Agree whether vegetation will remain on site, enter an accepted council collection or be separately collected. Keep soil, rubble and general household items distinct from green material. Mixed piles make it harder to understand what needs handling. If a collection is planned, describe the material and access before assuming a quantity or arrangement.
The official household waste guidance explains the checks to make when giving waste to another person. Keep the collection arrangement alongside the written quotation. Once one section is cleared, decide whether it should remain bare, be covered appropriately or move into a later planting plan. Exposing soil is a stage in the process, rather than a promise that unwanted growth will never return.
How do you stop the garden returning to the same condition?
Choose a routine that matches the amount of garden you can realistically manage. A newly opened path needs occasional attention; a cleared border may need repeated weeding before a new planting scheme is ready. Put those follow-up tasks in a diary while the result is fresh. Waiting until the whole space feels overwhelming again makes every decision harder.
Review the layout as well as the maintenance. Awkward corners, inaccessible borders and crowded storage can create recurring problems. You may decide to simplify one bed or improve access before adding plants. Keep immediate clearance and later improvements as separate written stages. This lets you assess the exposed ground, retain flexibility and spend time on a plan that fits the actual garden rather than the shape imagined beneath the overgrowth.
Questions about this guide
Must the whole garden be cleared at once?
No. A defined access route and one usable area can be a sensible first stage, with the remaining sections assessed afterwards.
What if I cannot identify a plant?
Mark it for discussion and leave it alone until identified. Earlier photographs or labels may help explain what belongs in that space.
Should I move hidden rubbish myself?
Do not disturb uncertain material to improve the photographs. Describe its position and ask how that part of the job should be assessed.
Can cuttings be left in the garden?
They can remain where suitable and agreed. Decide the location and future handling before the work produces a large pile.
Does clearance remove every future weed?
No. Roots, seeds and new arrivals can require follow-up. Discuss the next stage rather than assuming exposed ground will remain unchanged.
Read next
6 min read
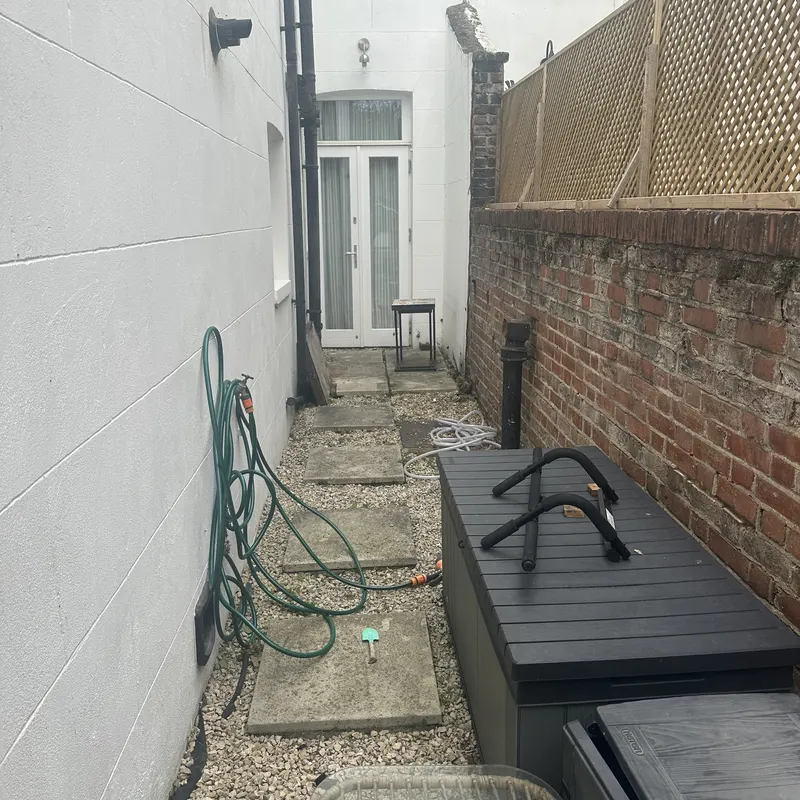
Weeding Borders and Paths
Learn to recognise different weed habits, choose a practical approach for beds and paving, and plan repeat visits without disturbing plants you want to keep.
Open guide →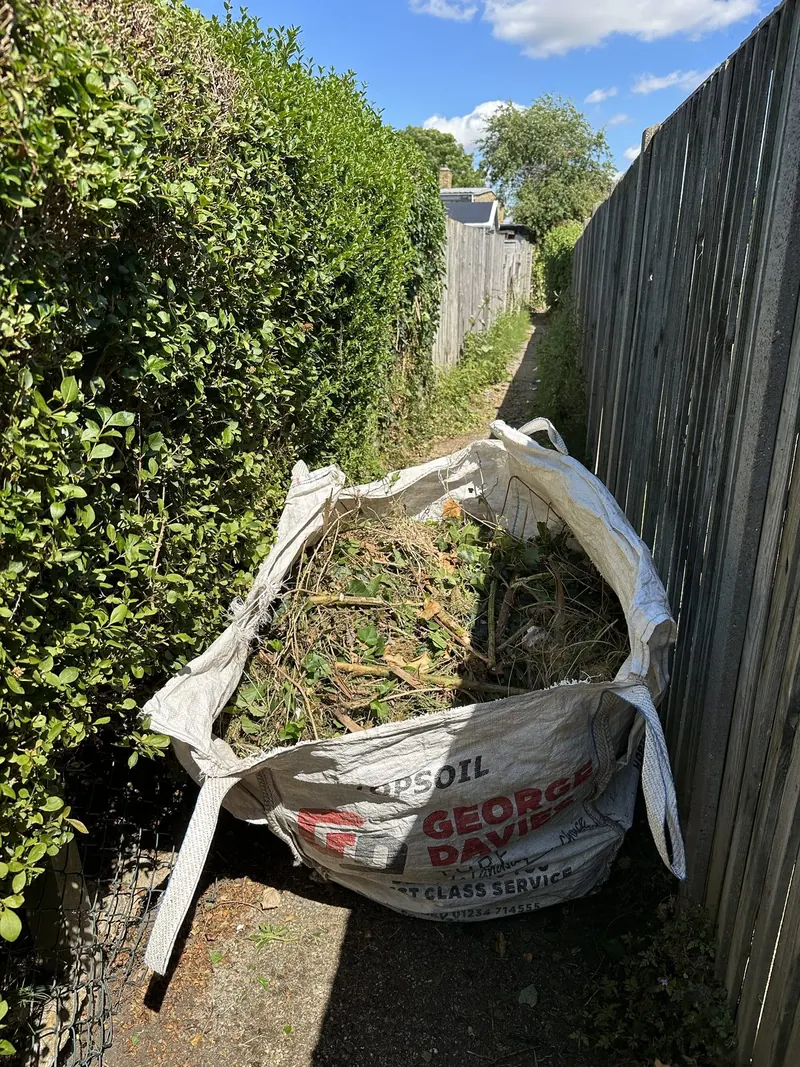
6 min read
Garden Waste: Where It Goes
Choose a route for cuttings before work begins. Understand the difference between keeping material, council collection and a registered private collection.
Open guide →
6 min read
How to Hire a Gardener in London
Choosing help starts with a clear brief. Use these questions to compare written quotations, agree priorities and understand what a first visit will achieve.
Open guide →